In order to ensure the normal operation and good processing quality of laser cutting equipment, relevant inspection work must be done before equipment work. Today we mainly share the inspection items before the use of the 10kw+ laser cutting machine:
Check the cleanliness of the laser head lens
Myriawatt fiber laser cutting head lens is very important to myriawatt laser cutting machine, and its cleanliness directly affects the processing performance and quality of laser cutting machine. If the lens is dirty, it will not only affect the cutting effect, but also cause the inside of the cutting head and the laser output head to burn. Early investigation before cutting can avoid serious losses.
Red light detection method
Nozzle: single layer nozzle size above 2.0mm;
Tools: Blank paper;
Detection method:
[1] The MAX laser configured in the Oree fiber laser cutting machine has a red light indicator when it is turned on;
[2] The white paper is about 300mm away from the nozzle of the cutting head to see the red light;
[3] If there are obvious black spots or irregular black objects in the red light, the lens is dirty and needs to be cleaned before cutting and debugging.

Coaxial test
The coaxiality between the nozzle outlet hole and the laser beam is one of the important factors that affect the cutting quality. If the nozzle and the laser have different axis, it may affect the inconsistency of the cutting surface, in severe cases, the laser will hit the nozzle, causing the nozzle to heat up and burn.
Scotch tape paper Method
Nozzle: size 1.2mm;
Tool: Scotch tape;
Scotch tape paper Method:
1. Adjust the coaxial at focal point 0 so that the laser is at the center of the nozzle;
2. Dot the light at the focal point of ±6mm;
3. If the focus 0 and ±6mm light spot are both in the center of the nozzle, it is normal; otherwise, replace the cutting head or the laser light path is offset.

Check the laser spot distribution
The spot shape directly feeds back the lateral distribution of laser energy. The roundness of the spot represents the uniformity of the energy distribution in different directions. The high roundness of the spot has the same energy distribution in all directions. When cutting, it can ensure the consistency of the cutting surface finish and cutting speed in all directions and ensure the quality of the cutting product.
Nozzle: single layer nozzle size above 2.0mm;
Tool: Black speckle paper;
Method:
[1]The black light spot paper is about 300mm away from the nozzle of the laser cutting head, and the spot emits light.
[2]If there are obvious black spots in the light spot, the lens is dirty;
[3]If the spot is not round and the center is shifted, the laser spot distribution is poor.

Actual zero focus detection
The focal position of laser cutting is a very important data in the cutting process parameters. Different materials and thicknesses of cutting need to be adjusted to different focal points. Before cutting, measure the actual zero focus and refer to the professional cutting process parameters to quickly determine the most suitable cutting focus. If the actual zero focus shift is too large, the cutting focus range will be insufficient and thick plates cannot be cut.
Detection method:
[1]Fixed cutting height of 0.5mm, changing the focus position by 0.5mm each time, and record the marking on 1mm stainless steel;
[2]Comparing the line widths of different focus positions, the focus corresponding to the smallest line width is the actual zero focus;
[3]The actual zero focus should be in the range of ±1. If the zero focus shift is too large, the cutting head needs to be adjusted or replaced.

Nozzle heating range test
MAX myriawatt laser cutting carbon steel nozzle selection
thickness | Auxiliary gas | Nozzle size | Cutting effect |
1-12mm | 空气 | 1.5-4.0mm | Matte surface |
14-16mm | 氧气 | 1.2/1.4mm | Glossy surface |
18-30mm | 氧气 | 1.4/1.6mm | Glossy surface |
32-50mm | 氧气 | 1.8mm | Matte surface |
The biggest problem with myriawatt laser cutting carbon steel thick plates is that the nozzles are hot. Therefore, before cutting, it is necessary to test the heating of nozzles of different sizes when they emit light at full power at different focal positions.
Test premise:
[1]Adjust the coaxial so that the light spot is at the center of the nozzle and output;
[2]installing nozzle cooling air;
Detection method:
[1]Place an iron bucket (with a proper amount of water inside) under the cutting head out of the laser;
[2]Blow the auxiliary gas (gas type and pressure according to the actual cutting gas), emit light for 30 seconds at full power, and measure the temperature change of the nozzle. Change the focus position and continue testing according to the above method;
[3]Change the nozzle size and continue testing according to the above method;
[4]Summarize the heating conditions of different nozzles to provide a reference for subsequent cutting process debugging. If the nozzle does not generate heat in a narrow range, check the cutting head, nozzle, lens, and laser. After troubleshooting, proceed to the next step of the board cutting process debugging.
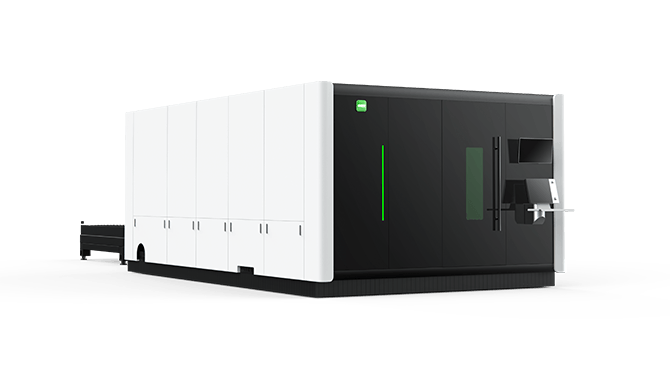
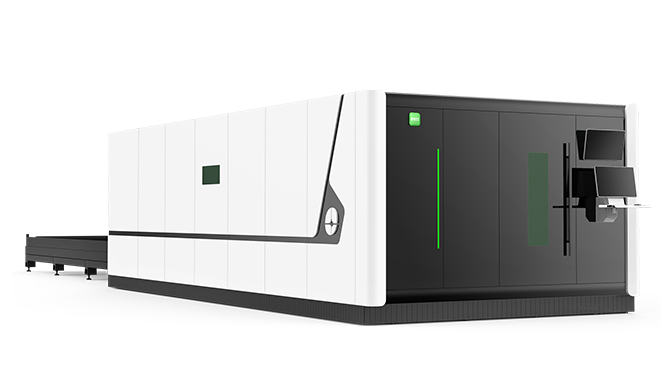
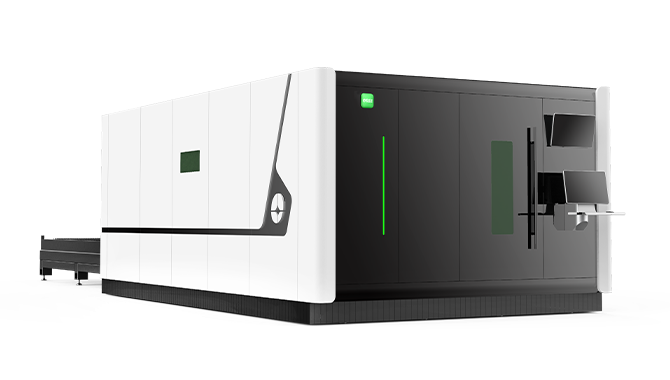
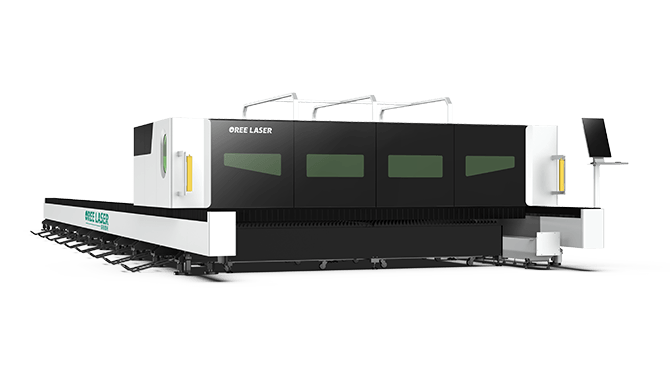
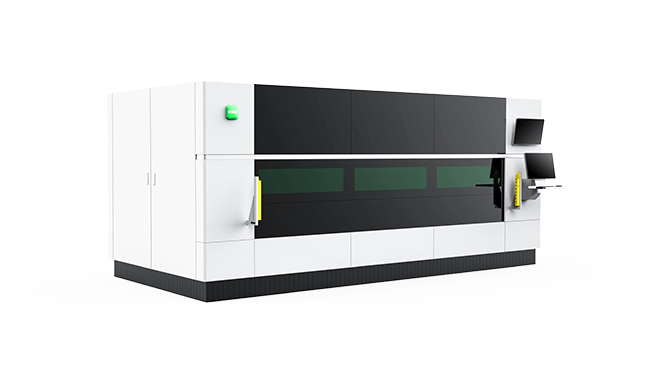
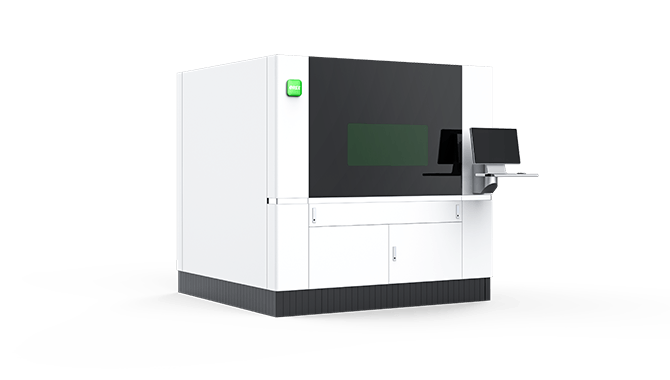
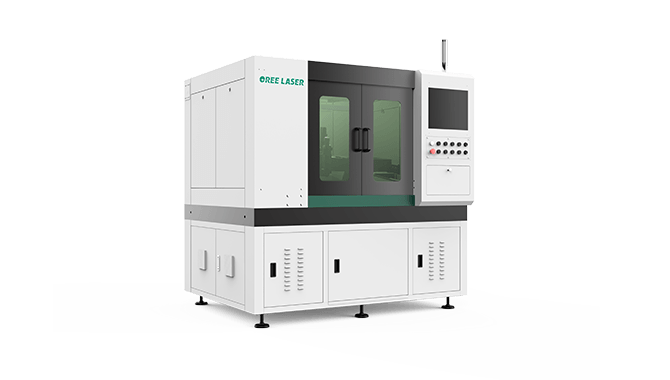
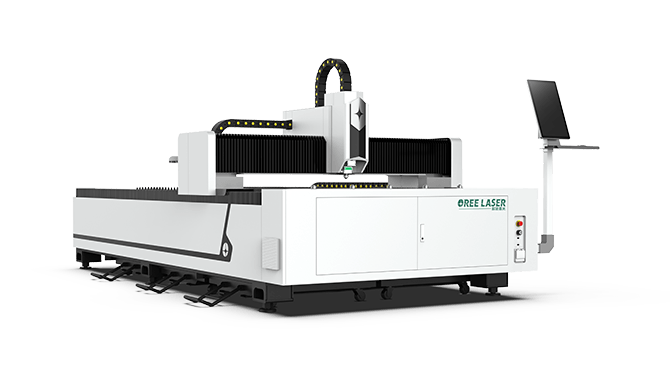
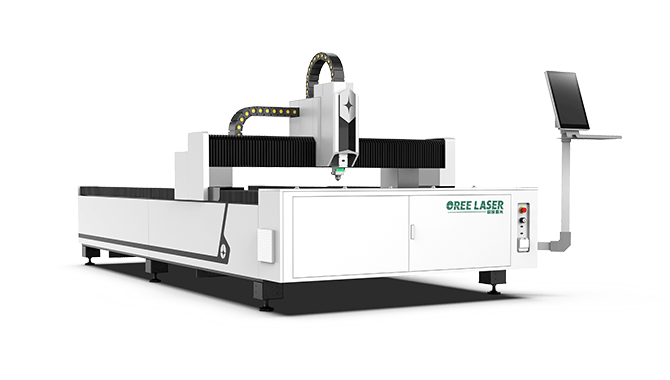
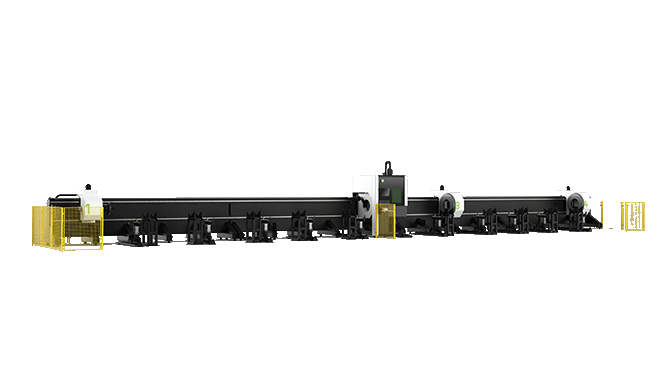
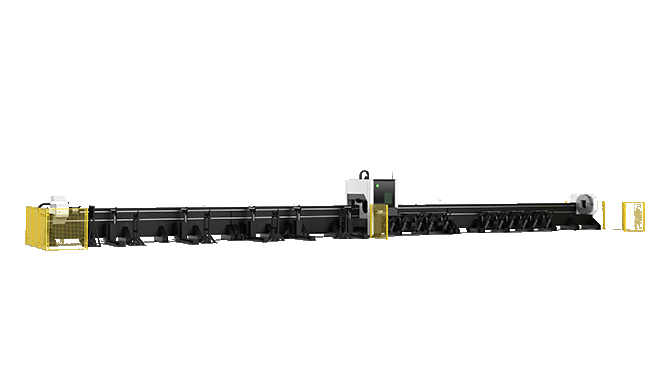
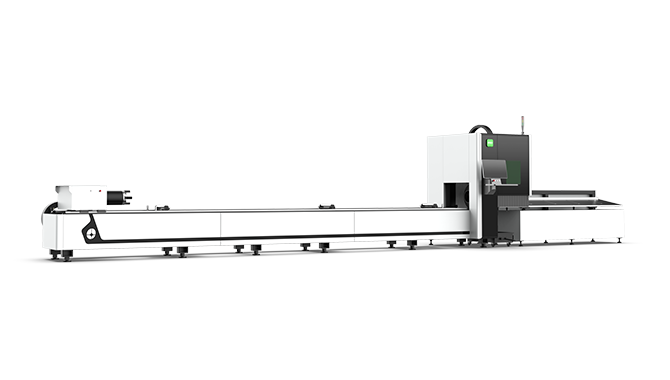
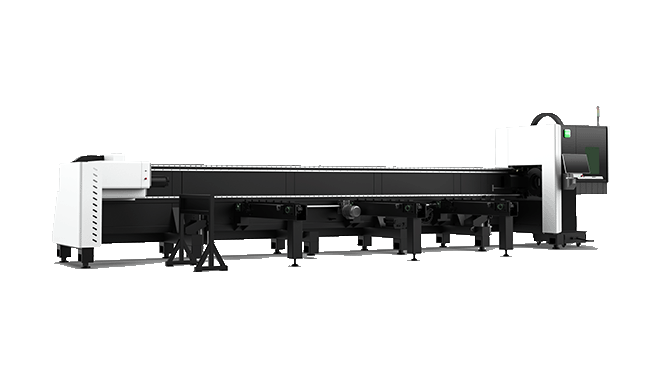
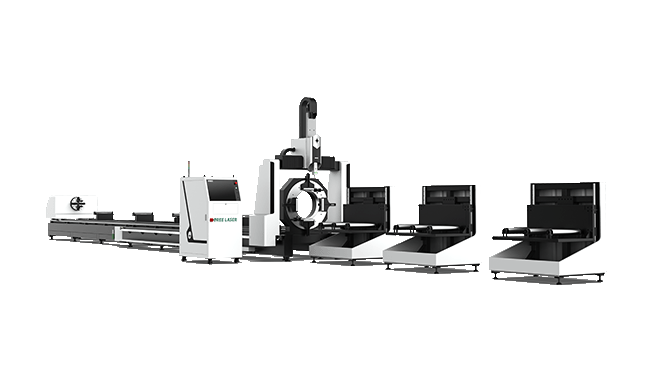
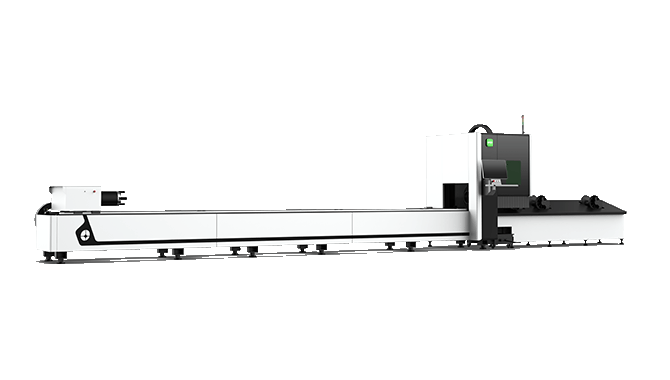
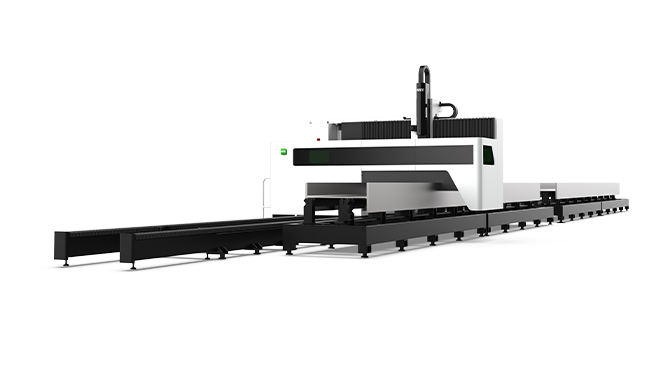
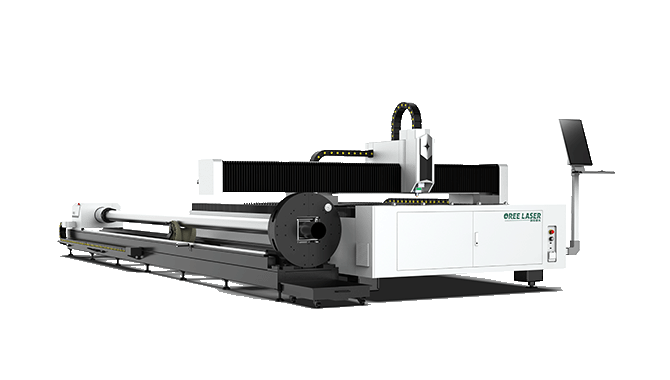
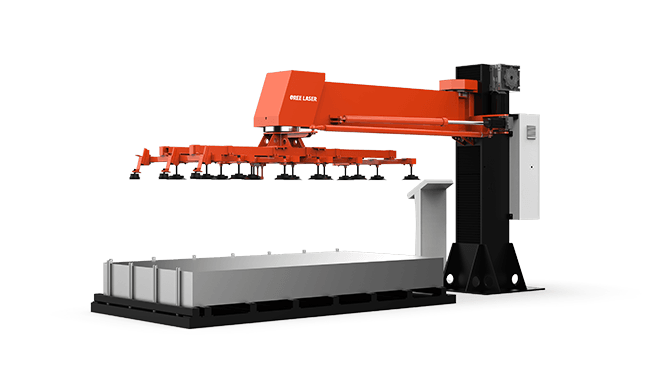
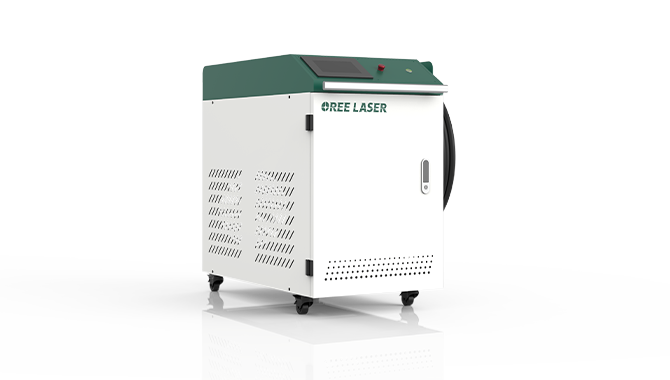
Application of Oreelaser 12kw high power fiber laser cutting machine


Professional Laser Cutting Machine
Manufacturer - OreeLaser