09, 2020
by Oree Laser
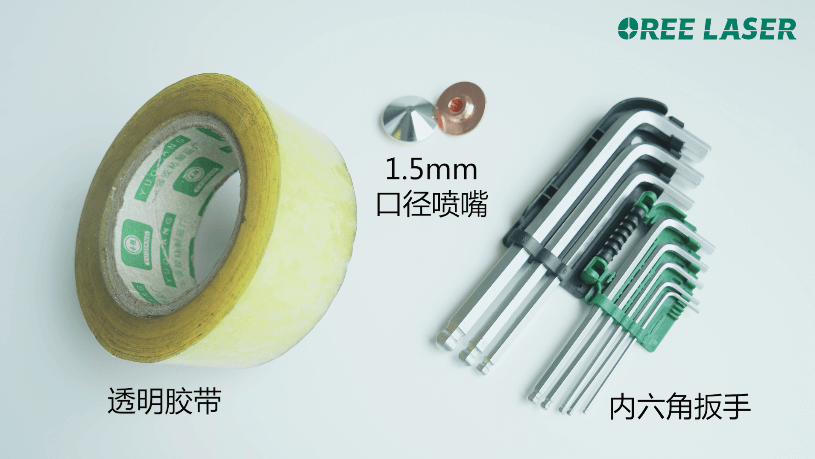
Preliminary preparation:
Scotch tape, 1.5mm nozzle, Allen wrench
Step 1
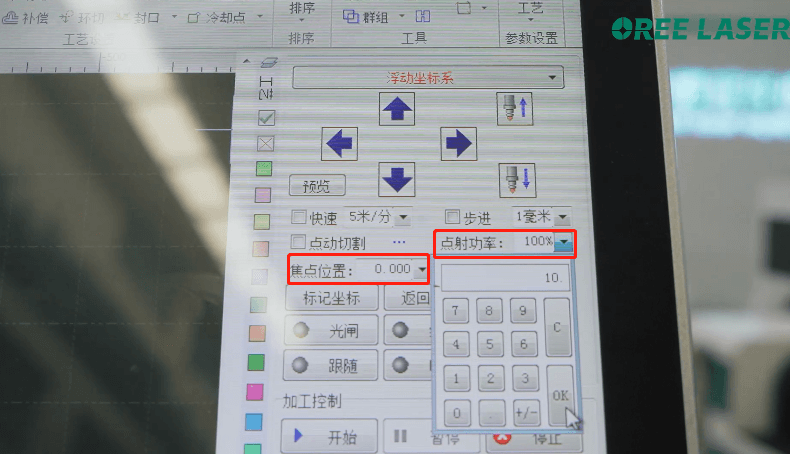
Return the focus of the laser head to zero on the operating software, and change the laser burst power to 10%
Step 2
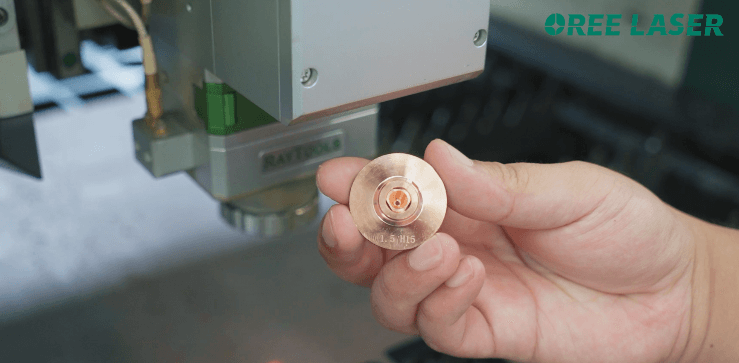
Replace the nozzle with 1.5mm diameter, you can use single layer or double layer nozzle
Step 3
Take a piece of transparent tape and stick it on the nozzle plane
Step 4
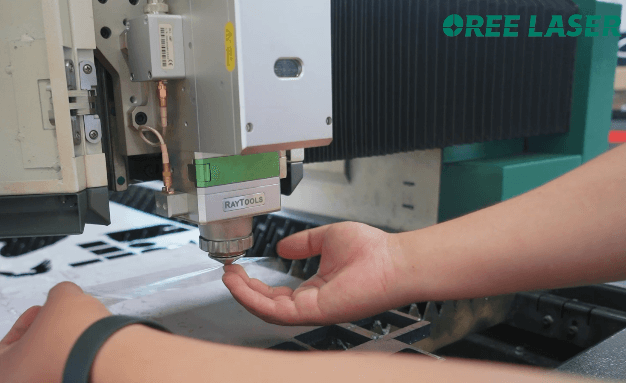
Click the laser burst button and release it immediately

Step 5:
Then take off the tape, remember not to rotate the tape direction at will, and check the tape mark.
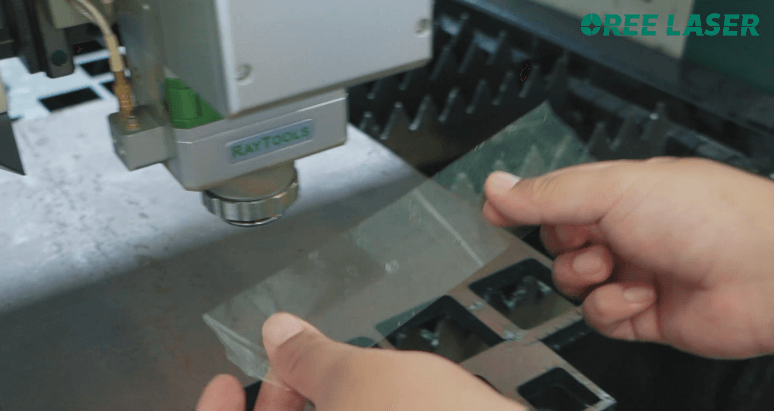
There is a circle with the size of the nozzle aperture on the imprint, and inside the circle is a small hole drilled on the tape by the laser.
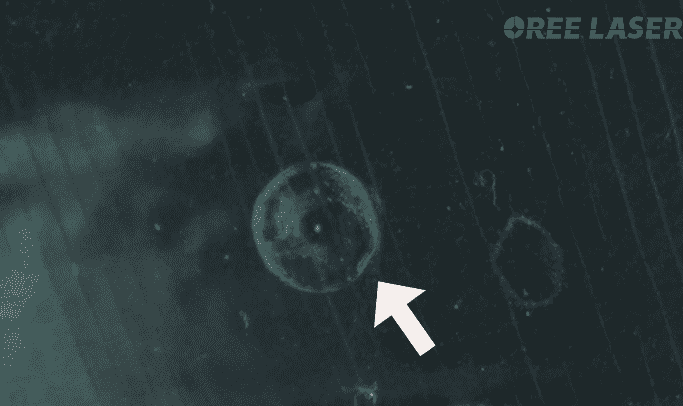
Adjust the laser spot to the center of the circle through the two adjustment screws on the laser head.
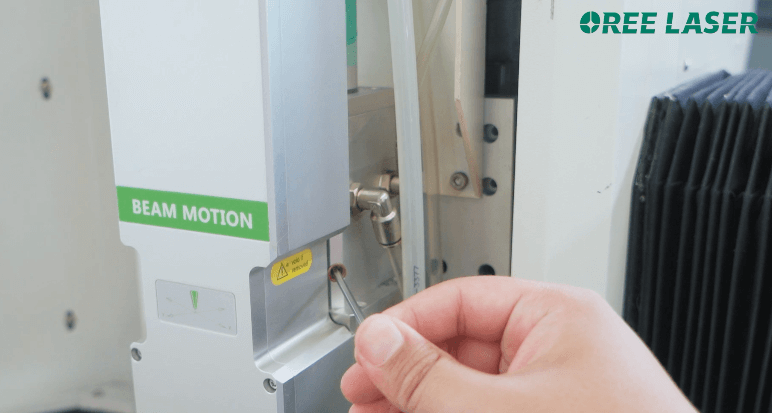
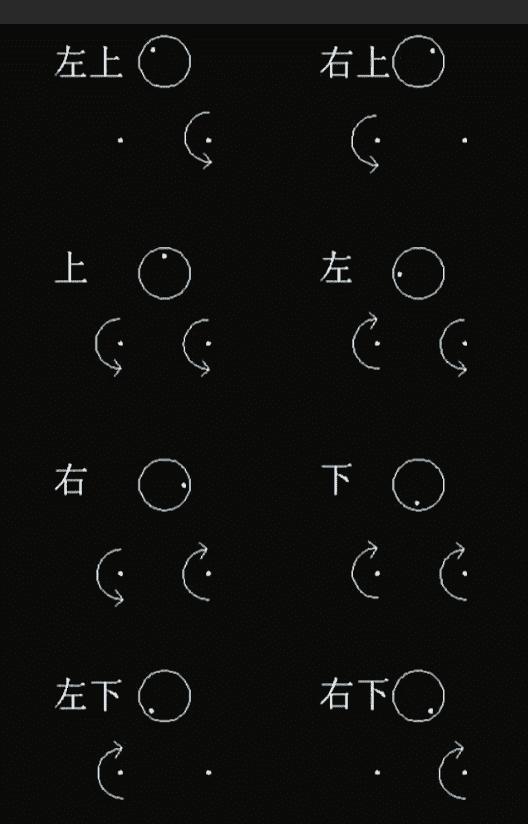
Step 6: Adjust according to the position of the circle on the tape with reference to the rotation direction on the picture. Adjust the position of the light spot by rotating the two screws on the left and right to tighten until the light spot moves to the center of the circle. This process requires repeated testing and adjustment.
Professional Laser Cutting Machine Manufacturer - OreeLaser