04, 2021
by 欧锐激光
The coaxial test mainly refers to adjusting the coaxiality of the laser head nozzle exit hole and the laser beam. It is necessary to ensure that the nozzle is in the same straight line with the laser beam after exiting. When viewed from the cross section, it is a concentric circle.
The coaxiality between the nozzle exit hole and the laser beam is one of the important factors that affect the quality of cutting. If the nozzle and the laser are not on the same axis, it will only affect the inconsistency of the cutting surface. In severe cases, the laser will hit the nozzle, causing The nozzle heats up and burns out.
So, let's talk about the coaxiality test method below to check whether your device has passed the coaxiality test.
Preparation tools:
l Scotch tape
l 1.5mm nozzle
l Allen wrench
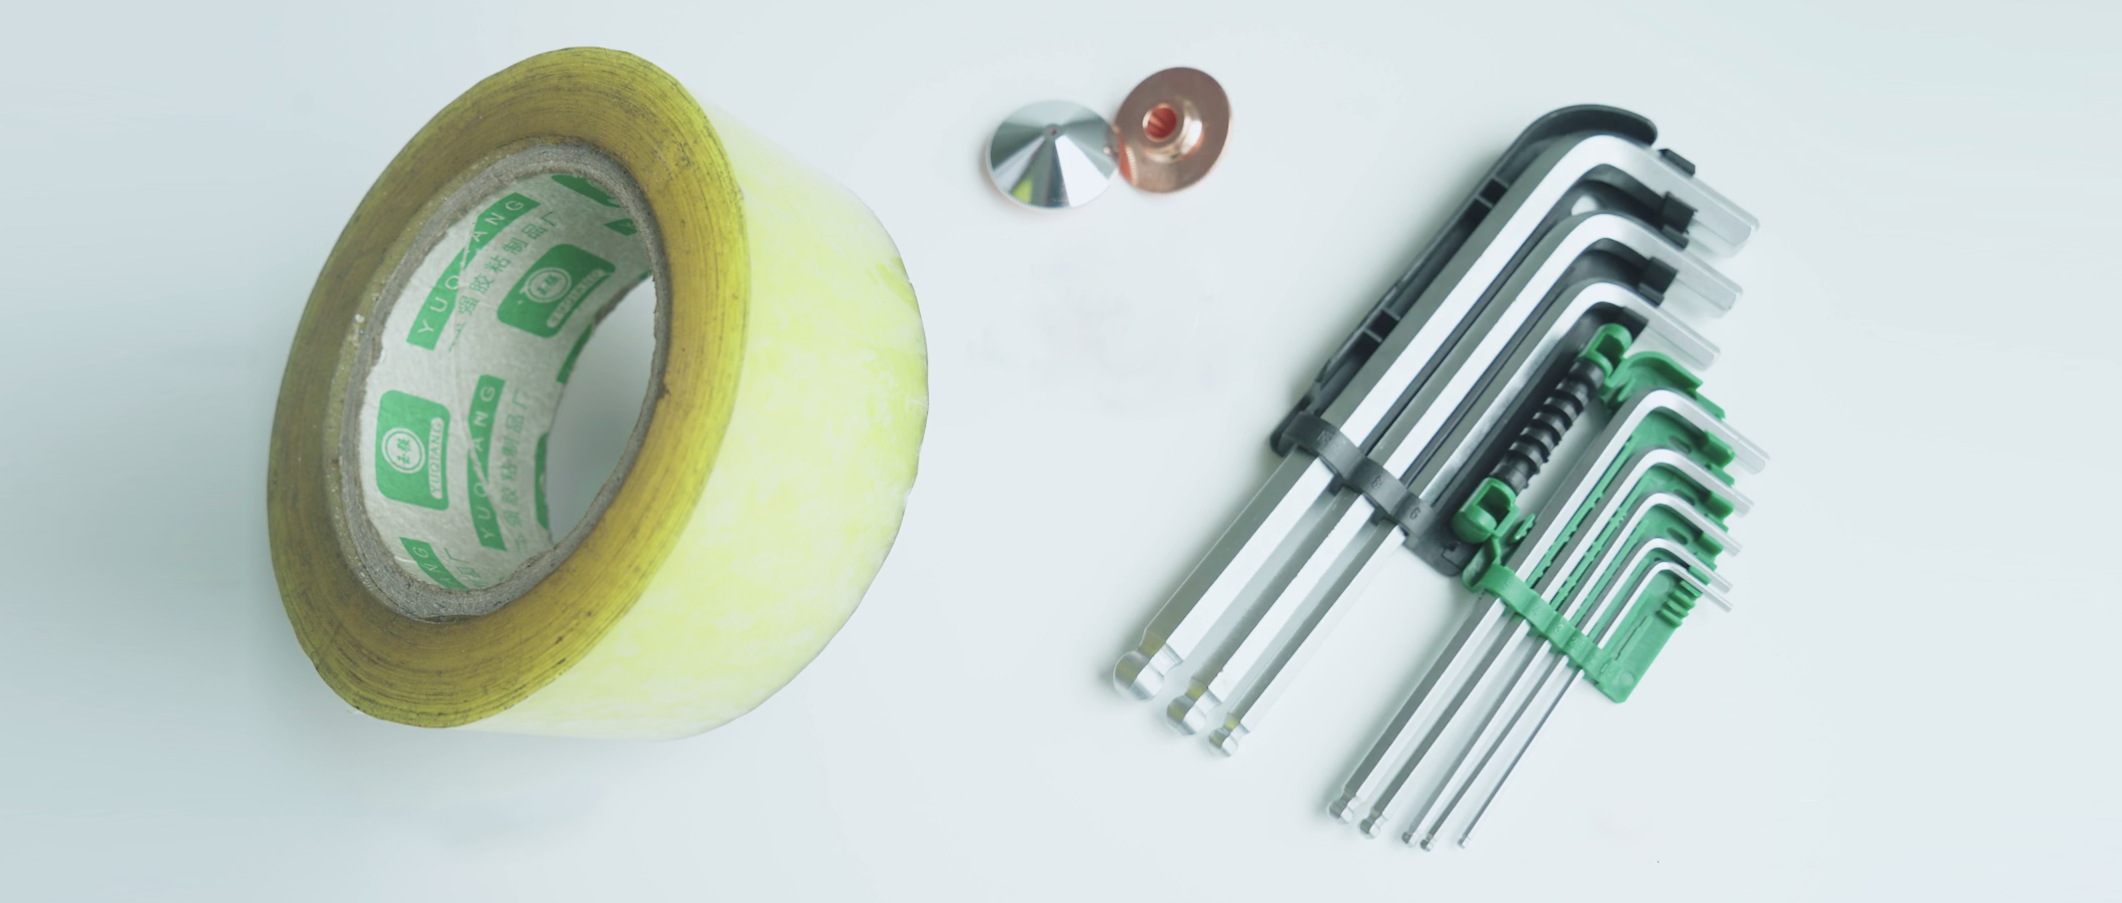
Step:
Step 1: Return the focus of the laser head to zero on the operating software, and change the laser burst power to 10%;

Step 2: Replace the nozzle with 1.5mm caliber, both single and double layers can be used;
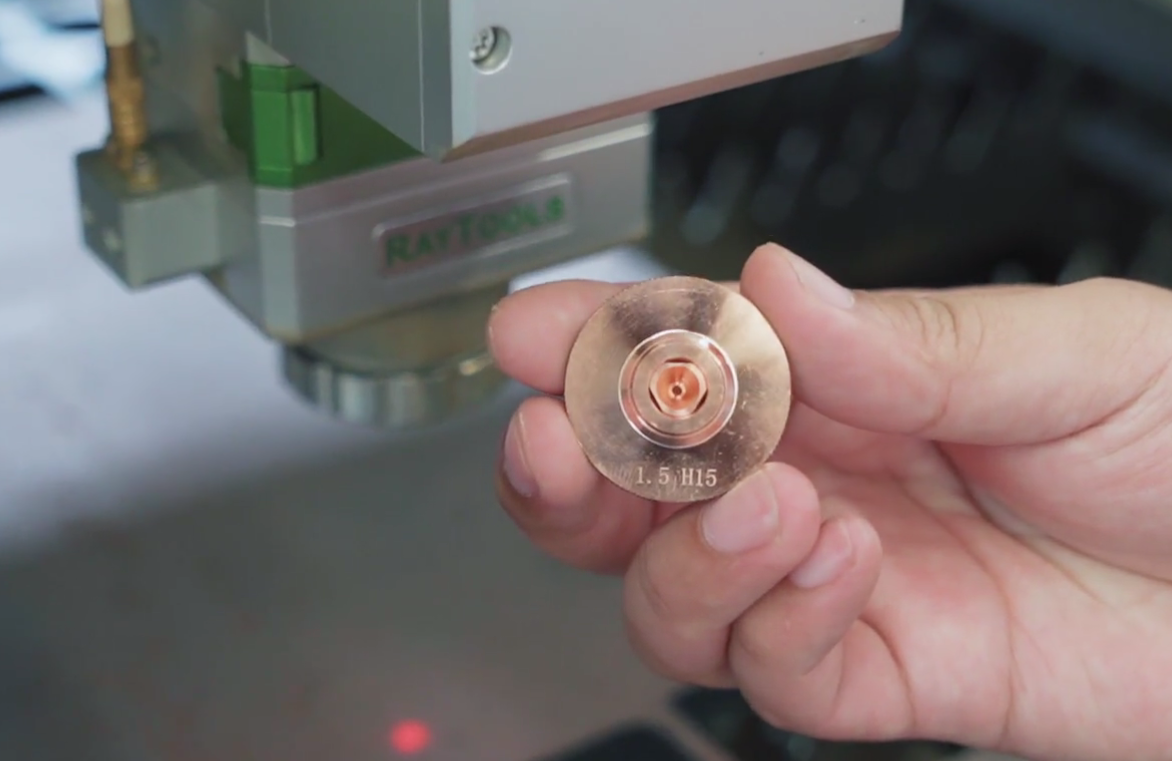
Step 3: Take a piece of transparent tape and stick it on the nozzle plane;
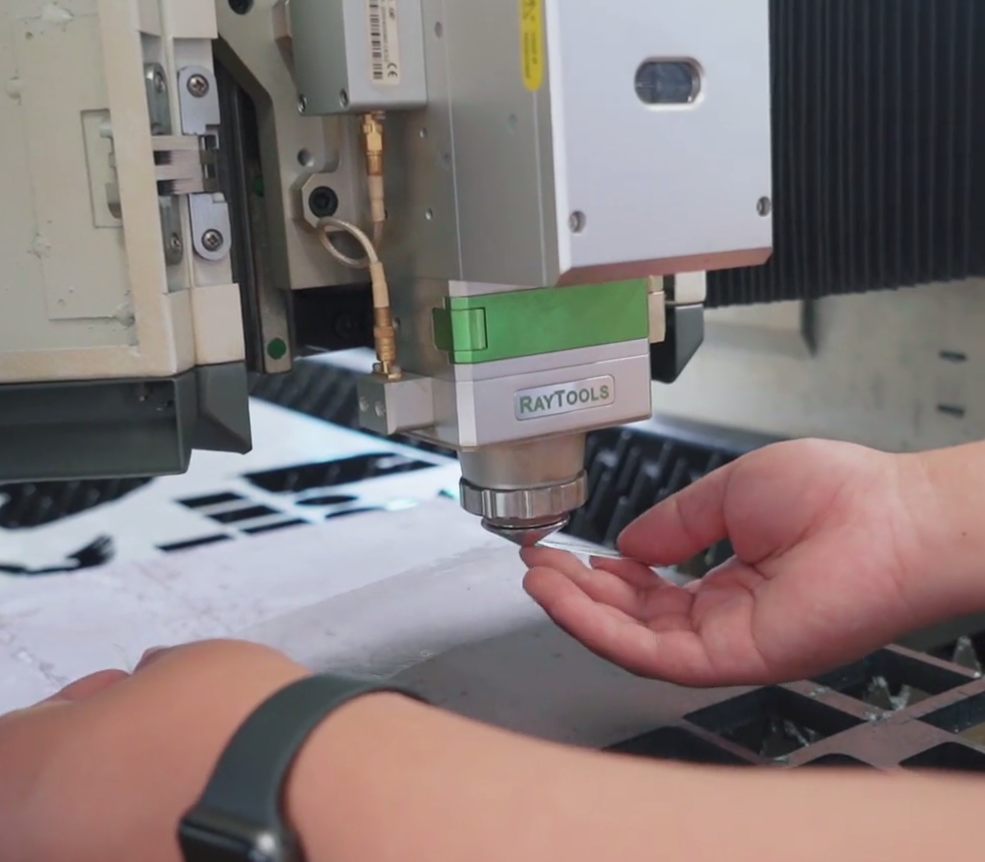
Step 4: Click the laser burst button and release it immediately;
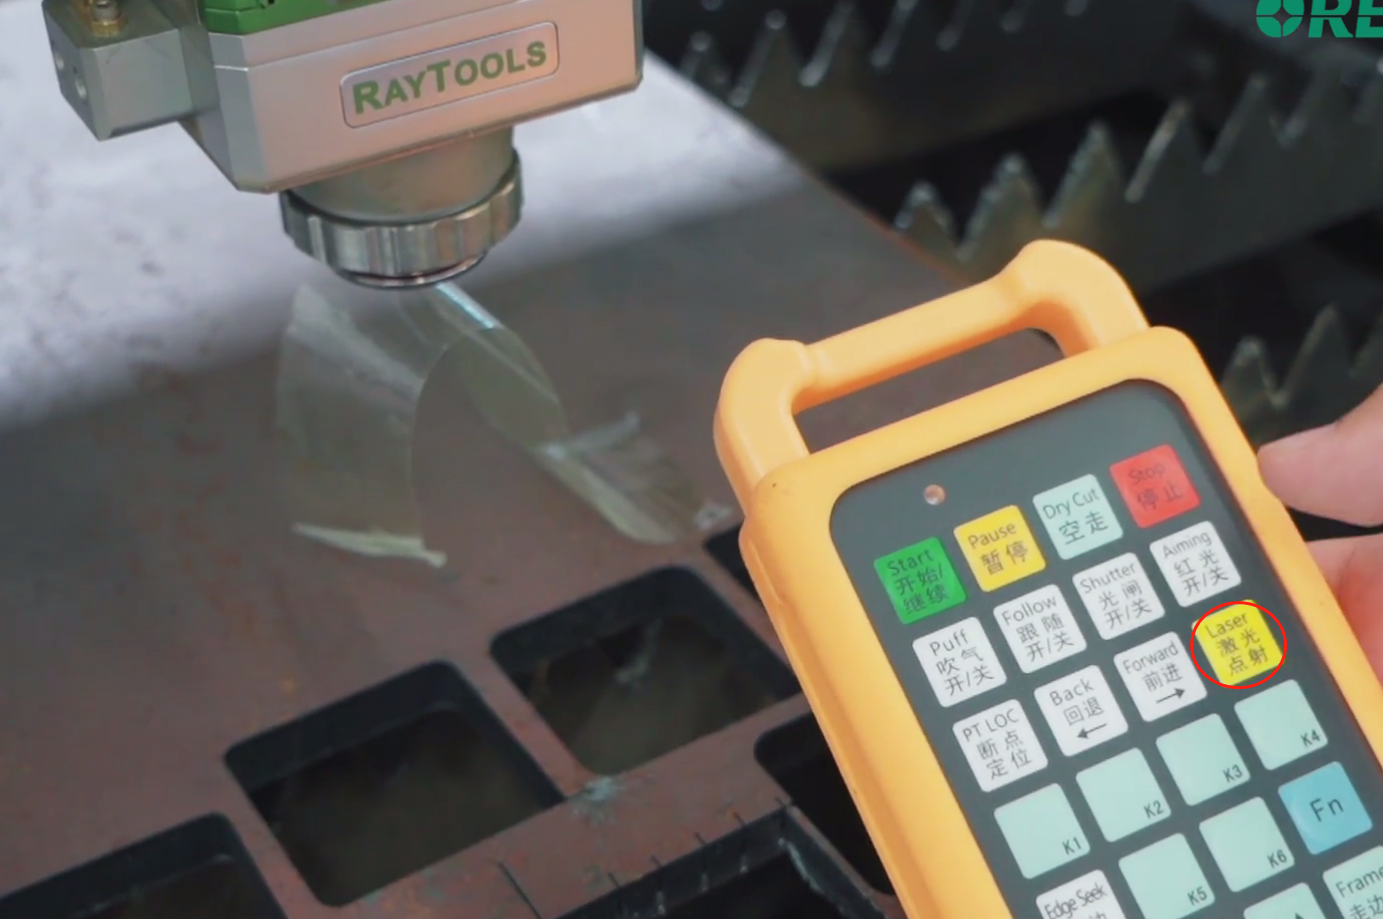
Step 5: Remove the tape and check the tape mark. (Be careful not to rotate the direction when removing the tape). Check the tape mark. There is a circle with an aperture size on the mark. Observe whether the light spot is in the center of the nozzle circle.
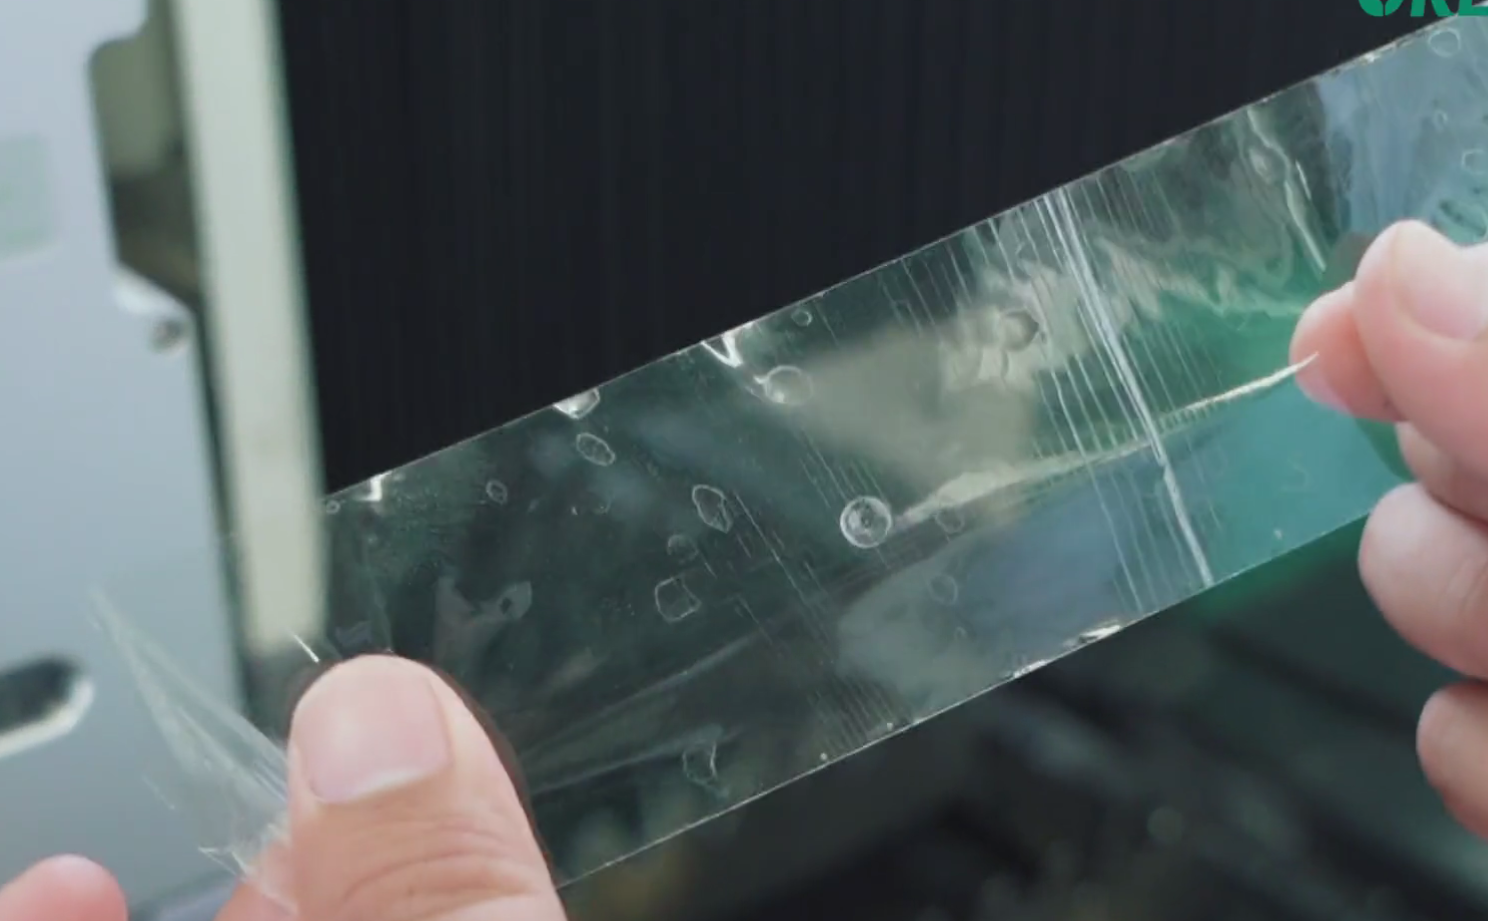
Step 6: If the light spot is not in the center of the nozzle circle, you need to adjust the position of the light spot by rotating the left and right screws with an Allen key until the light spot moves to the center of the circle (this process requires repeated testing and adjustment).
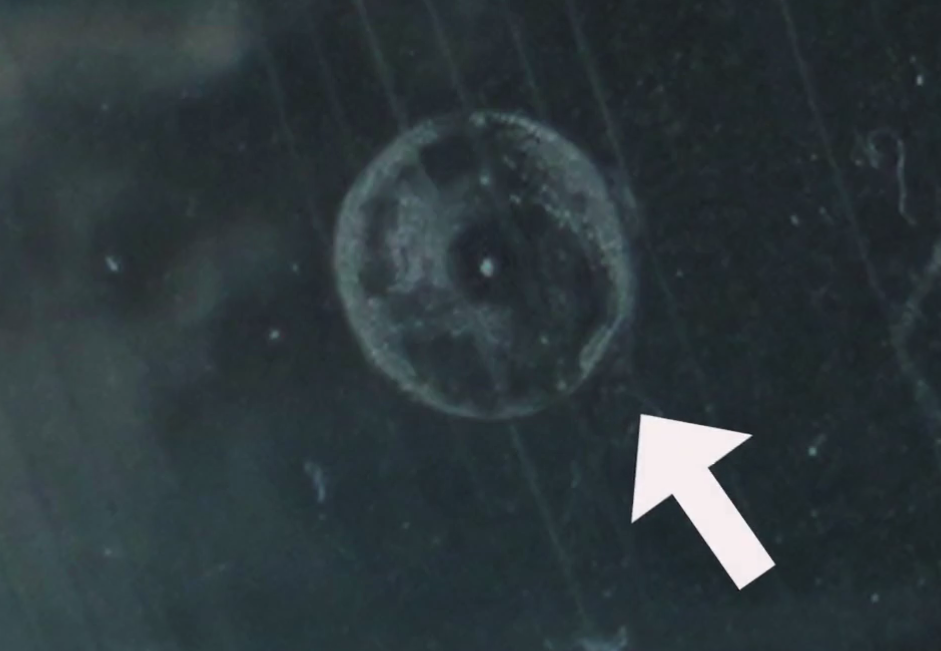
Step 7: Make the following adjustments according to the relative position of the light spot and the circle:
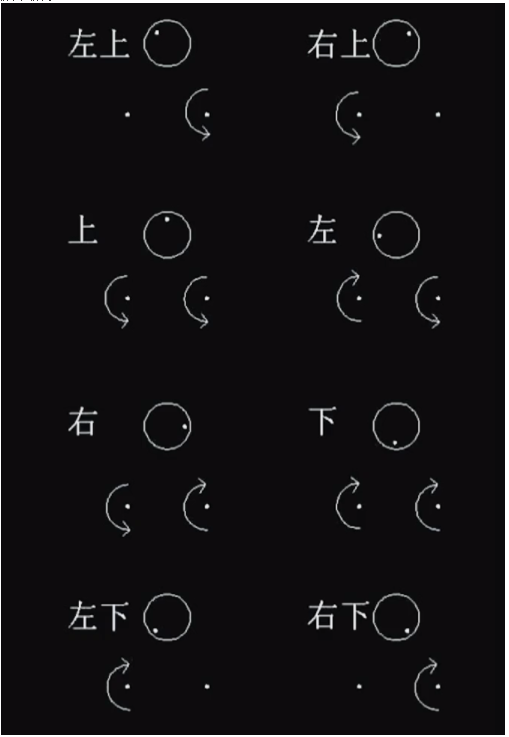
[1] If the light spot is in the upper left corner of the circle, you need to rotate the screw on the right to loosen it (counterclockwise);
[2] If the light spot is in the upper right corner of the circle, you need to turn the left screw to loosen (counterclockwise);
[3] If the light spot is directly above the circle, you need to turn the left screw to loosen (counterclockwise rotation), and the right screw to loosen (counterclockwise rotation);
[4] If the light spot is on the right side of the circle, you need to turn the left screw to tighten (clockwise rotation), and the right screw to loosen (counterclockwise rotation);
[5] If the light spot is on the right side of the circle, you need to turn the left screw to loosen (counterclockwise rotation), and the right screw to tighten (clockwise rotation);
[6] If the light spot is directly below the circle, you need to turn the left screw to tighten (clockwise rotation), and the right screw to tighten (clockwise rotation);
[7] If the light spot is in the lower left corner of the circle, you need to turn the left screw to tighten (clockwise);
[8] If the light spot is in the lower right corner of the circle, you need to turn the right screw to tighten (clockwise);
Step 8: Through repeated testing and adjustment, the coaxiality adjustment operation is completed until the light spot moves to the center of the circle.
Professional Laser Cutting Machine Manufacturer - OreeLaser